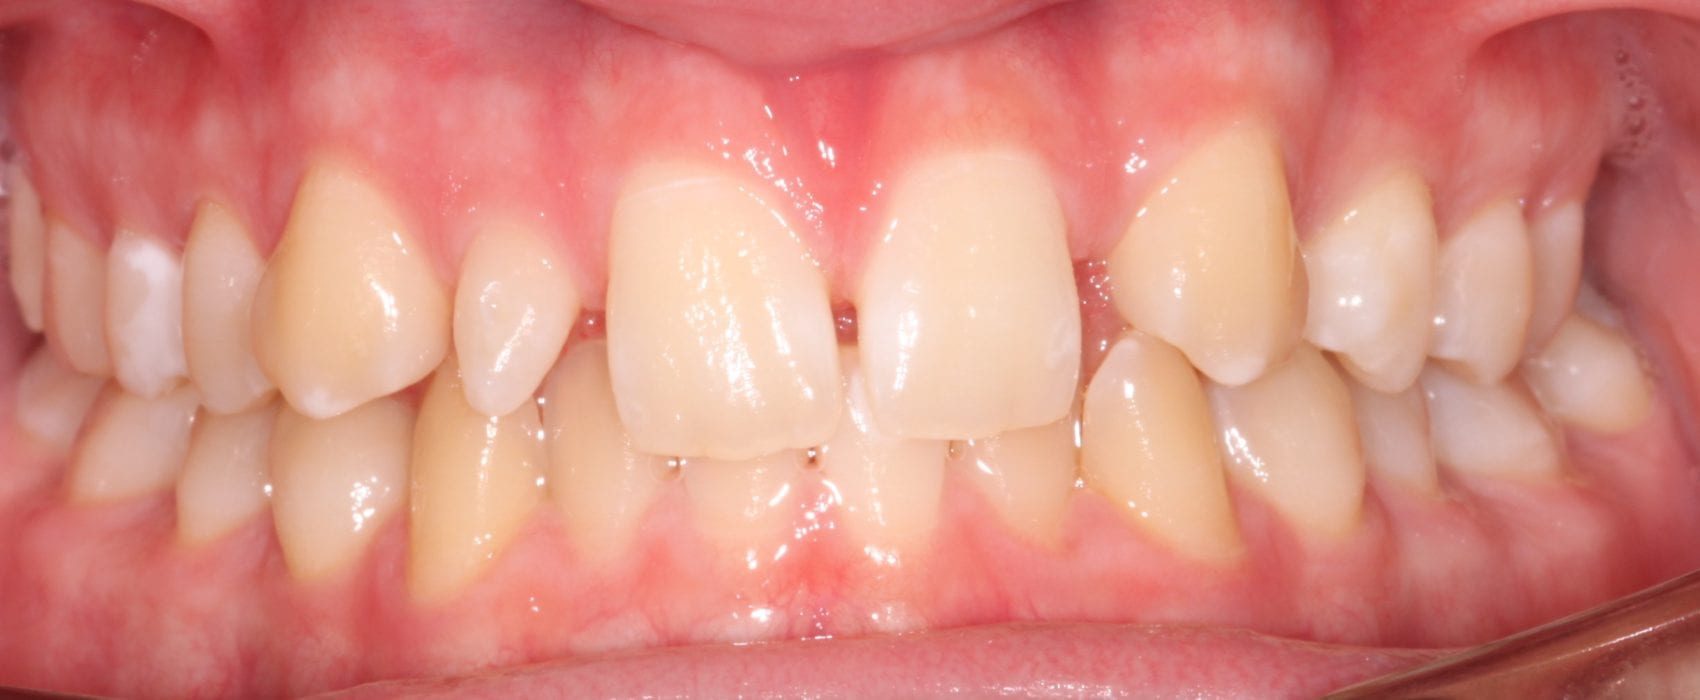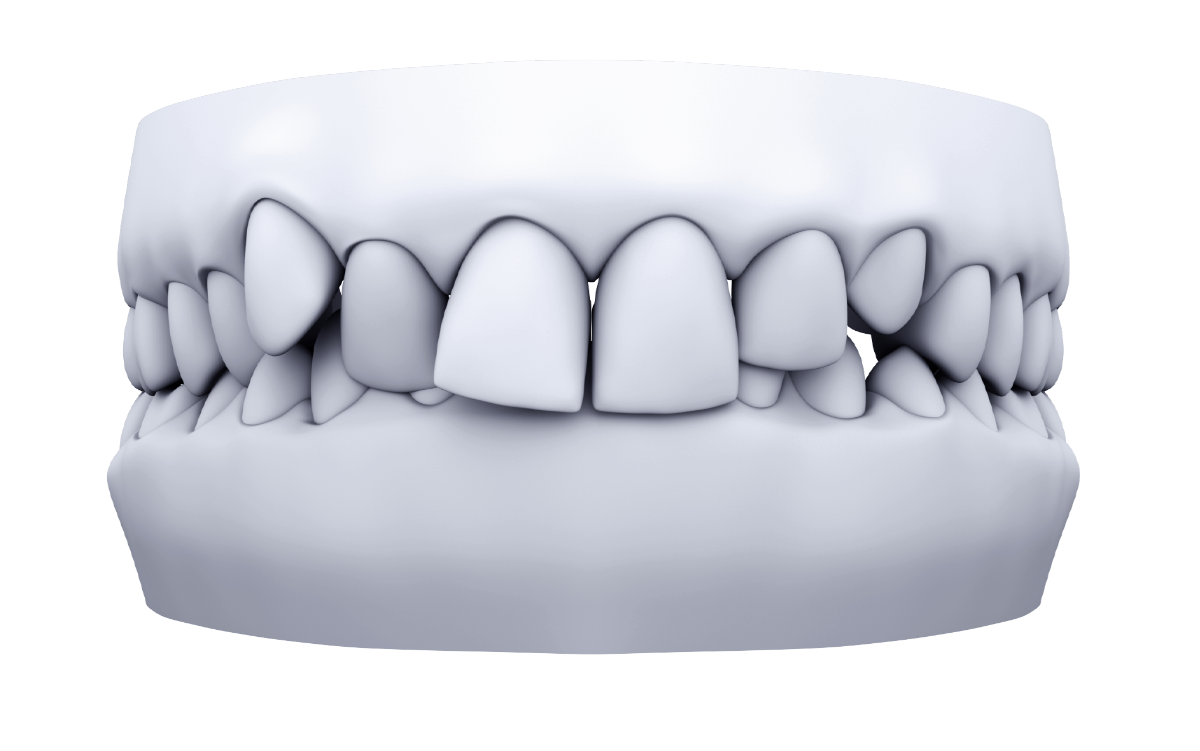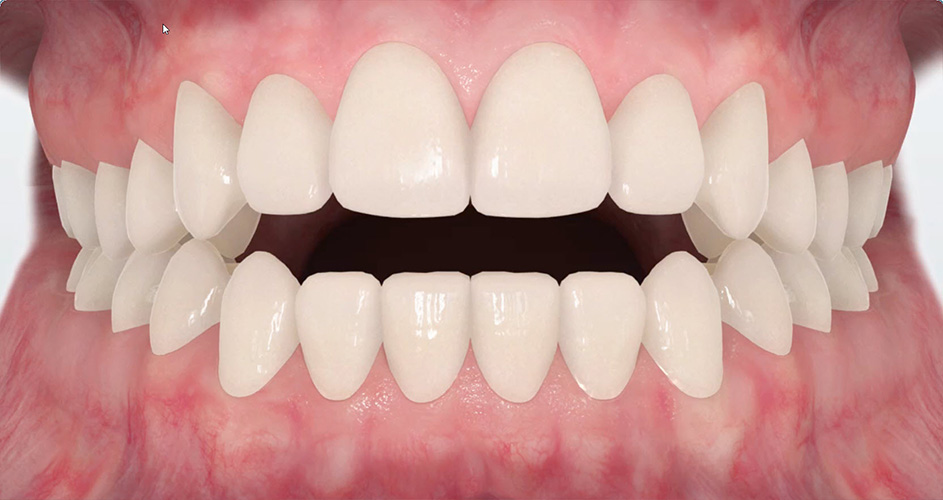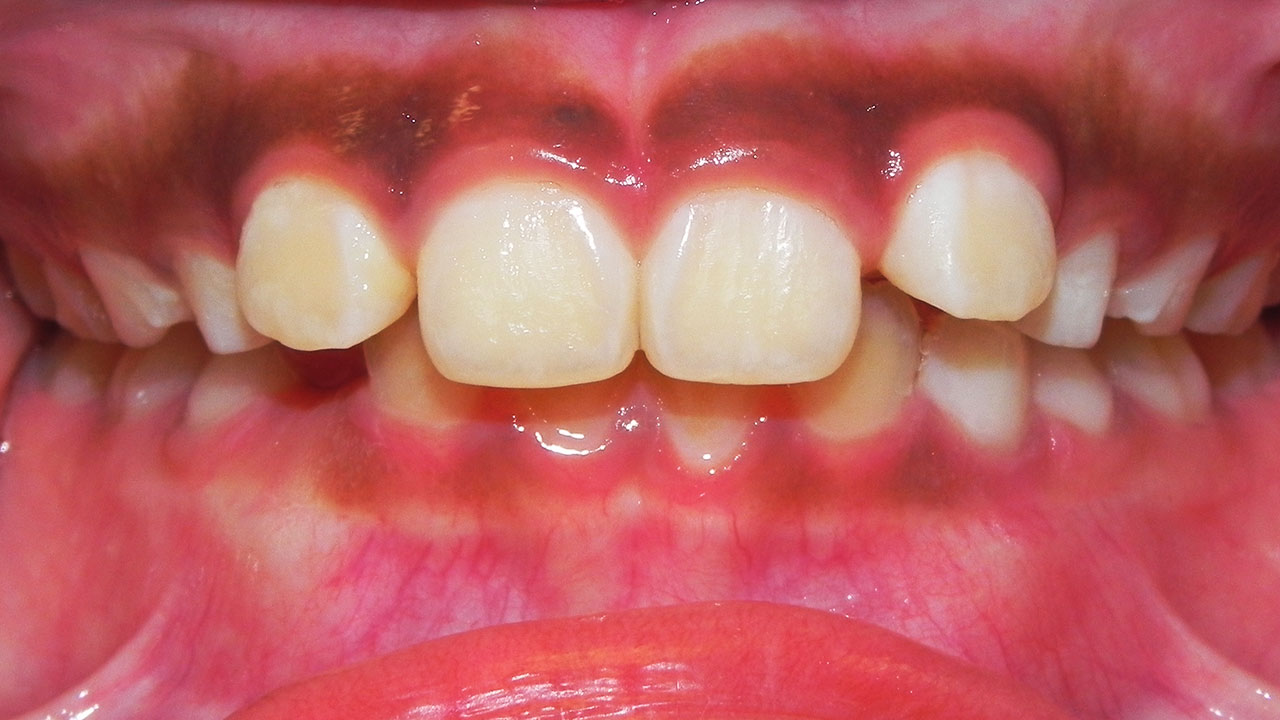
Sequential distalization
Protocol options available for class II treatment:
- Distalization (sequential): Maximum distalization = 4 mm. Perform mesial-out rotation of the upper 1st molars. Extract upper wisdom teeth present. Use class II elastics. Be prepared for long treatment times.
- IPR: Develop the arches before adding any IPR. Consider posterior IPR before adding distalization. Posterior IPR will improve the cuspid relationship.
- Elastics: Class II elastics are mandatory for distalization cases. They provide anchorage which will maximize the effect of the distalization. Full-time use as indicated during the distalization process.
- Bite Ramps: Use virtual bite ramps when performing distalization. If excessive overjet prevents ramps from being used with teeth 12-22, use cuspid ramps. Posterior disocclusion while the aligners are being worn can assist with posterior tooth movements.
It is suggested that staging of sequential distalization should be moving towards the distal half of the total movement of the first tooth before starting distalization of the following one.
- The upper 7s begin distalizing and when they achieve half of their amount of distalization ->
- The upper 6s begin distalizing and when they achieve half of their amount of distalization ->
- The upper 5s begin distalizing and when they achieve half of their amount of distalization ->
- The upper 4s begin distalizing and when they achieve half of their amount of distalization ->
- The upper 3s begin distalizing and when they achieve half of their amount of distalization ->
- The incisors begin retracting.
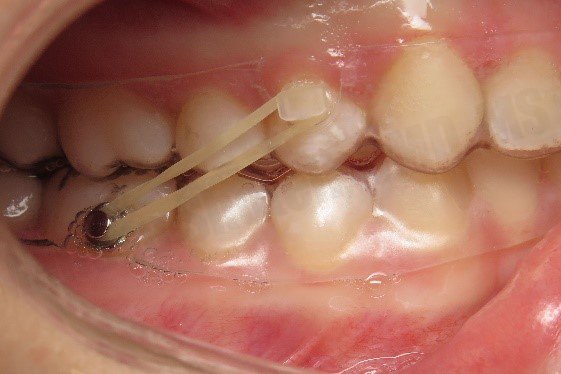
Elastics
Class II elastic until the moment that the second upper premolars start to distalize;
Bilateral class II elastics at night (4 ½ oz./6.4 mm)
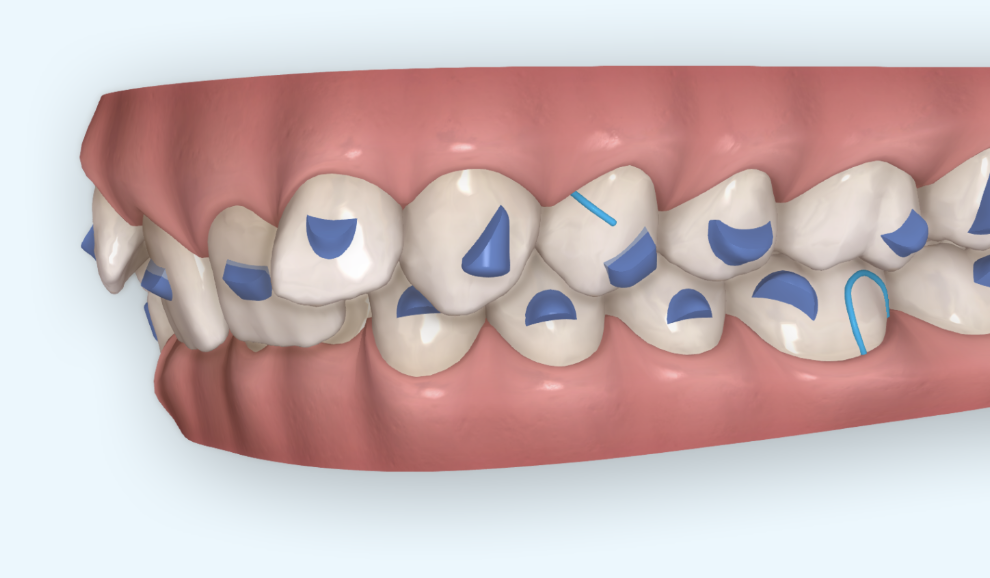
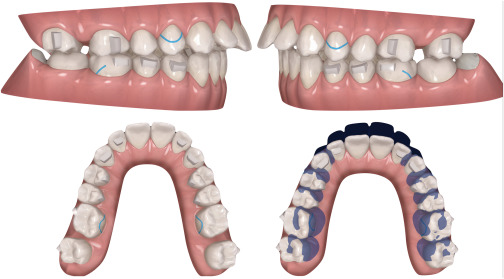
Attachments
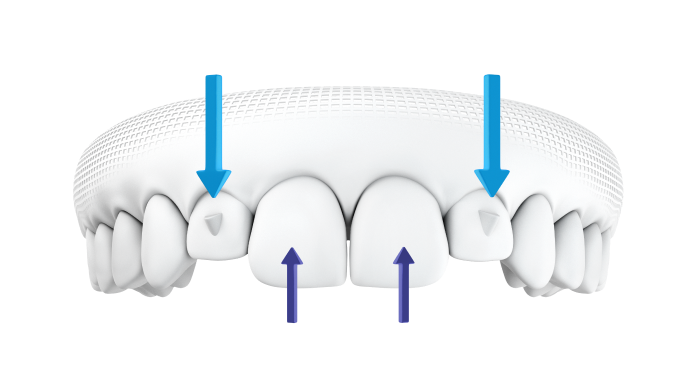
Horizontal attachments beveled to gingival of 3 mm in the lingual surface of upper incisors can provide extra anterior anchorage during the sequential distalization.
Notes for technician:
- The technician should be asked to apply lingual root torque to the upper incisors during all the retraction movement to compensate the loss of upper torque during the retraction.
Notes for the patient:
- Extraction of upper (class II) or lower (class III) third molars (there is no need for extraction if they are still growing, as in children).
- Tell patient to not expect the anterior teeth to be corrected until the latter pasrt of treatment.
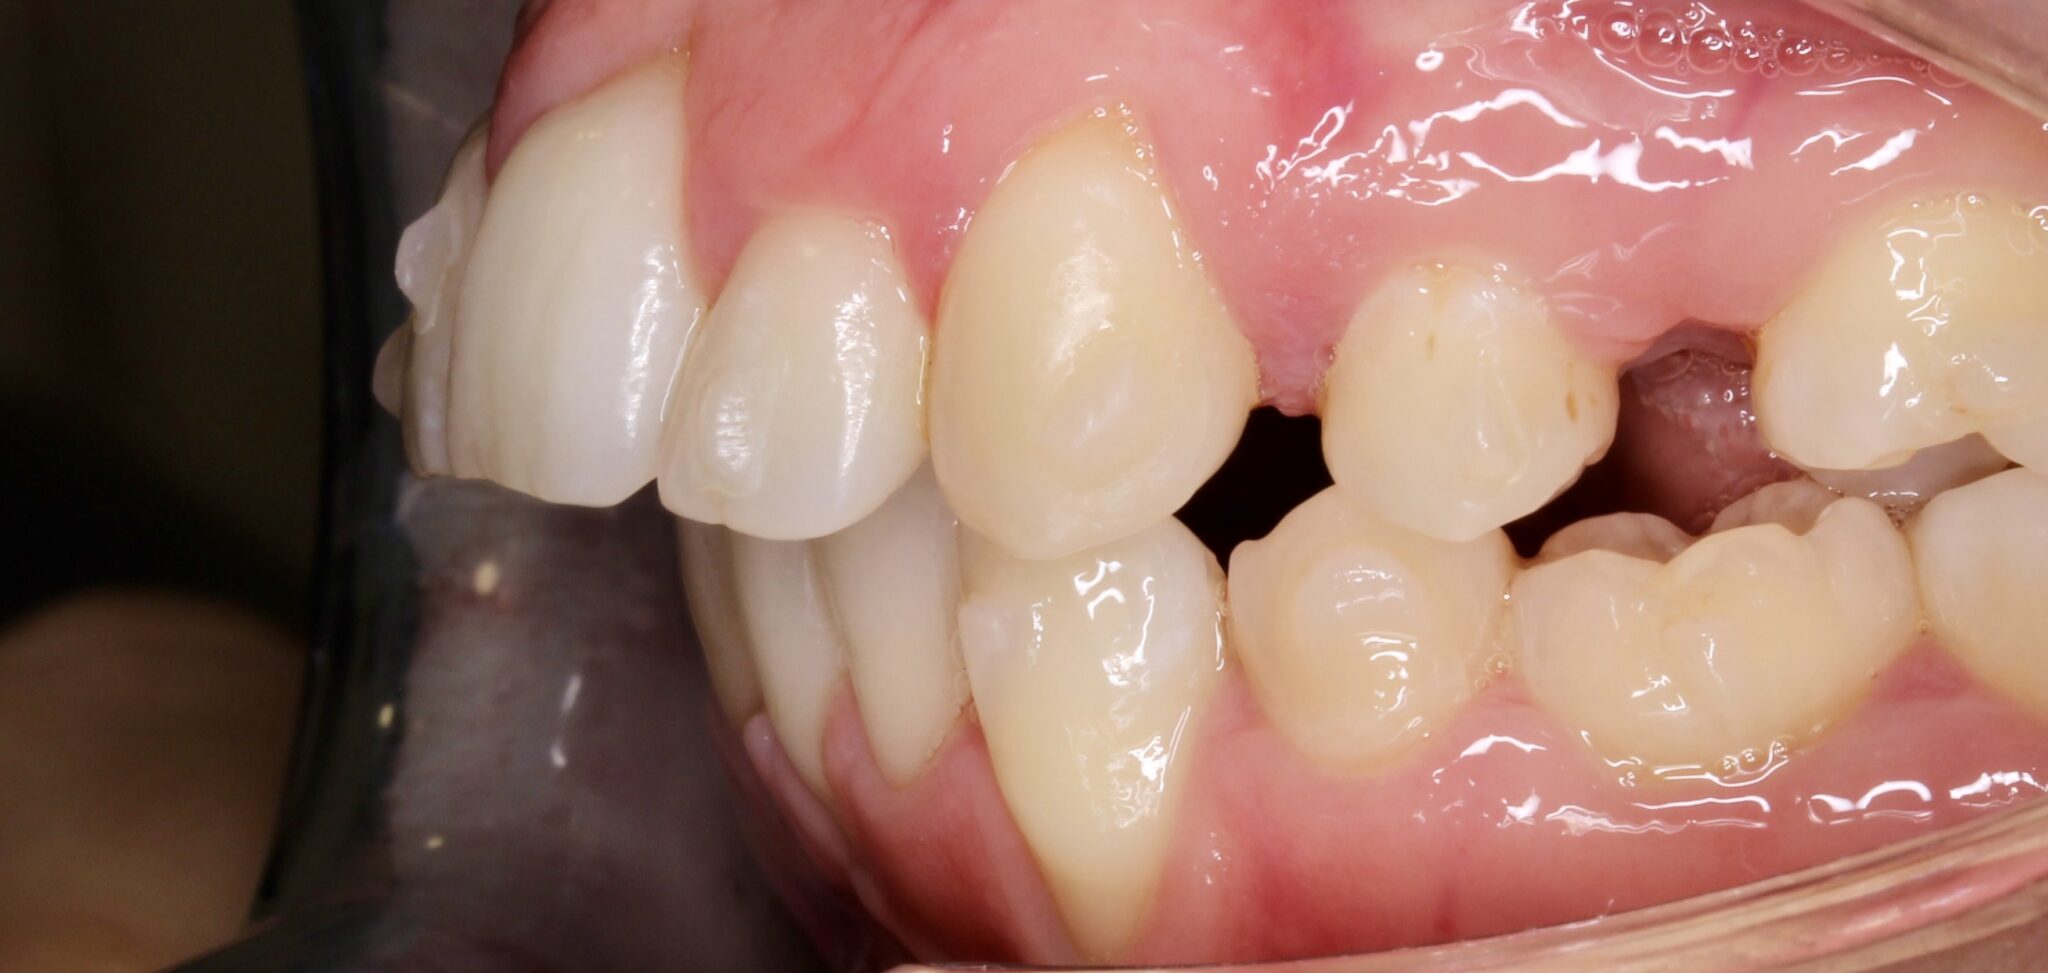
- Set the expectation that spaces will be created in the posterior and that food may get caught in these spaces
- Things will get worse before they get better
Notes fot the clinician:
- Anterior protrusion effect. There is a protrusion effect on anterior teeth, which will have to be considered in the sequential distalization mechanics.
- Distalization can be done simultaneously with proclination movement of the incisors (labial crown torque) and correction of rotation movements of the incisors (aesthetic start).
- Extraction of Wisdom Tooth. Distalization should start just after wisdom tooth extraction.
Indications for Sequential Distalization
- Teen : full class II with normal or labial torque of premolars and molars (wide arches) where there is little or no possibility of transversal compensation
- Adults : incomplete class II (if patient has a full class II, simultaneous distalization using temporary attachment devices (TADs) can be an option to reduce the treatment time)
Dr. Daher’s protocol for Class II corrections
Extra tips:
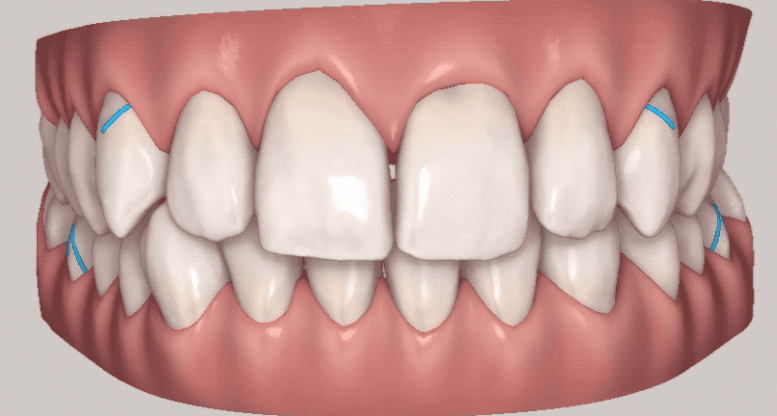
- Limit attachments to 3 per quadrant to avoid excessive aligner retention (typically upper first molars, upper first premolars and second premolars. Dr. Daher favors vertical rectangular attachments for distalisation
- For Class II Div I cases, use a hook cutout on the upper canines and buttons on lower second molars (or first molars) for the elastics to avoid unwanted effects. For Class II Div II cases, use a button on the upper canines to avoid dislodging of aligners. Place a button on mesial-buccal of the lower first or second molars to prevent aligner dislodging and mesial in rotation.
- Start elastics at stage 8 and end elastics 5 stages before the end of treatment. Dr. Daher likes to start elastics early in the treatment, typically stage 8 after the patient had time to grow accustomed to wearing aligners. Dr. Daher will end elastics wear at least 5 stages (or 10 weeks) before the end of treatment. This gives time to make sure that Class II correction resulted from true distalisation s opposed to forvard posturing of the mandible from the effects of the elastics.
MESIAL OUT ROTATION
Clincheck instruction for mesial out rotation of U6 teeth:
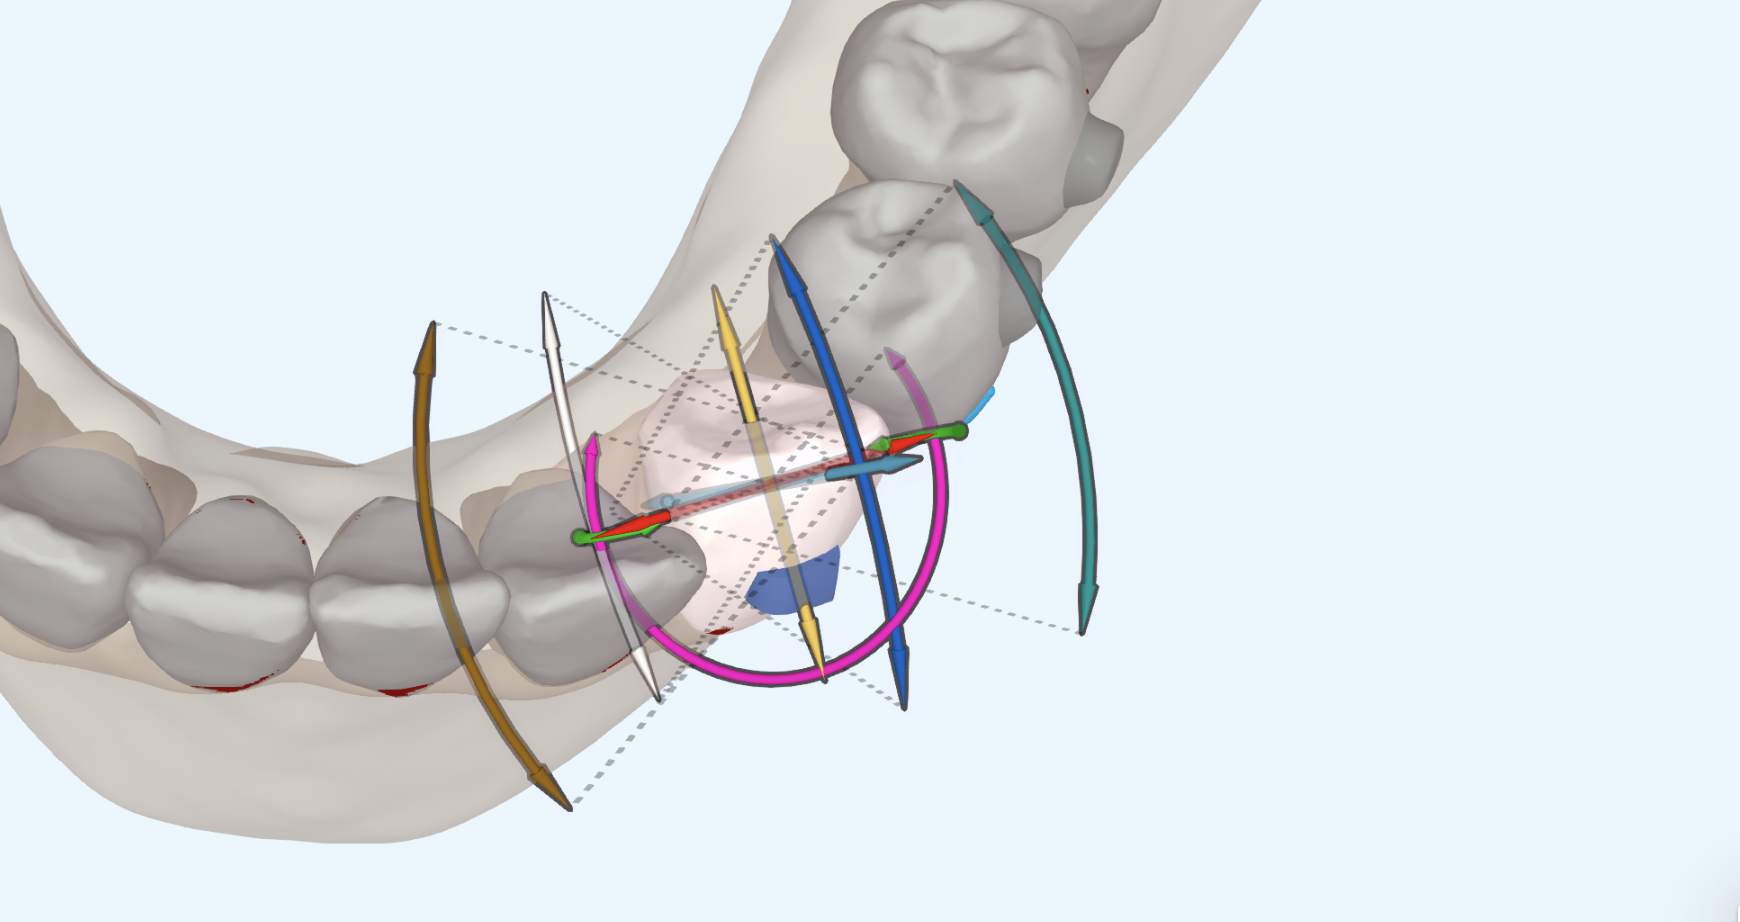
“Please perform 12 degrees of M-out rotation of the U6 teeth.” (Hint: request 12 degrees of mesial out rotation and then verify once the Clincheck comes back. If that wasn’t enough send another request with additional rotation. You can use the 3D controls rotate the molars. )
Clincheck instruction requesting bite ramps:
“Please add precision bite ramps for teeth 12-22. If the anterior bite does not allow ramps on all these teeth go ahead and add them to the teeth allowed. If no ramps can be placed substitute with cuspid ramps. Once the bite will allow precision ramps remove the cuspid ramps and replace them with the precision ramps.”
Clincheck comment instructing technician you are adding class II AP correction in a non-growing patient:
“Please add AP correction to this case. Please distalize upper posterior teeth sequentially. Do not exceed 4 mm of distalization even if class I has not been obtained. Please create aligner cut-outs for class II elastics. Please create the cut-outs at STAGE __. Cut-outs often conflict with the attachments on the U3 teeth. If that occurs in this case please replace the attachments on the U3 teeth with the next best option.”
(Hint: You can often delay the start of class II elastics in adults until the upper 2nd premolars start moving distal. That is usually around stage 8. With growing teen patients, start the elastics the same stage you place attachments. You will need to decide if you want slit cut-outs for the L6 teeth or button cut-outs. If you go with slit cut-outs make sure to add attachments to the L6 teeth for aligner anchorage.)