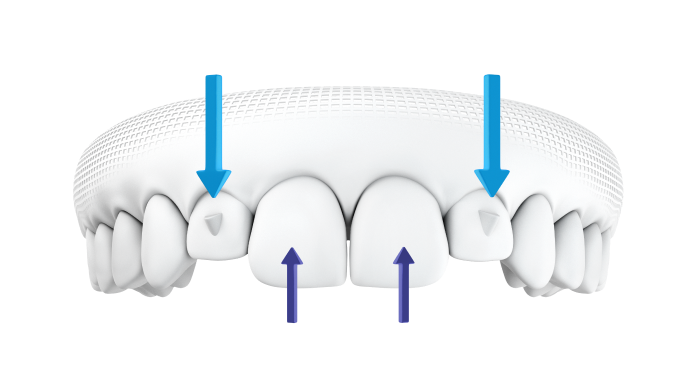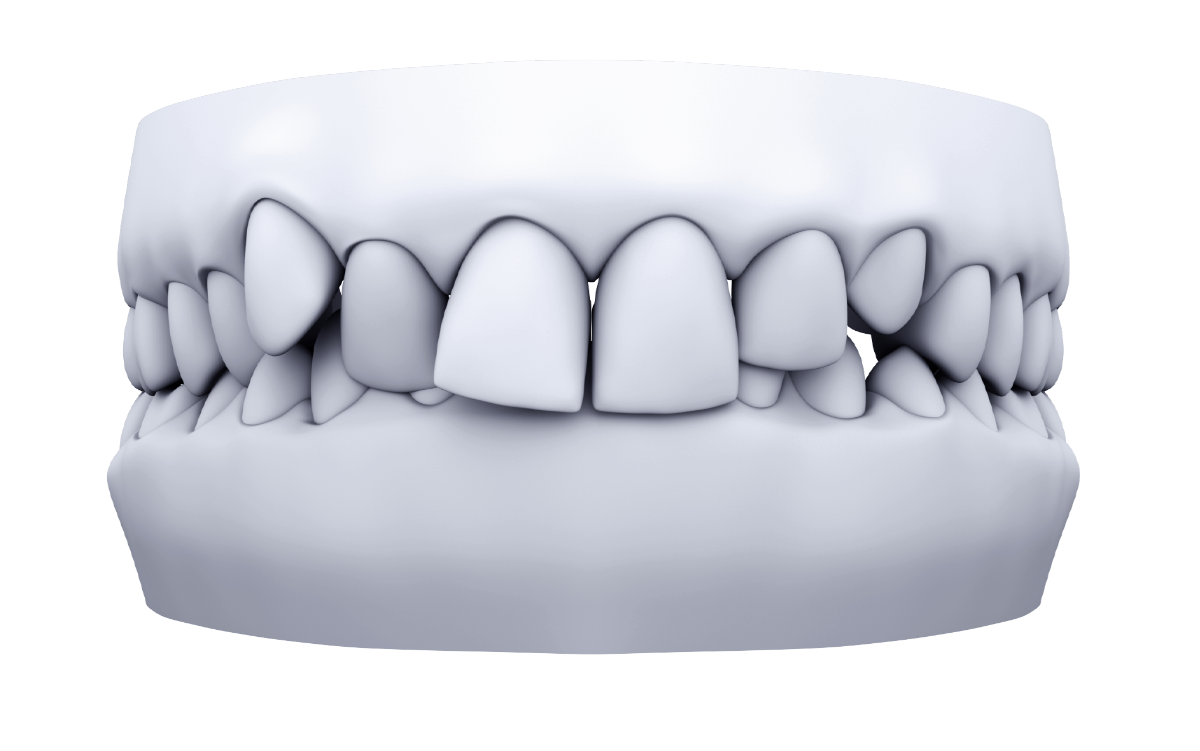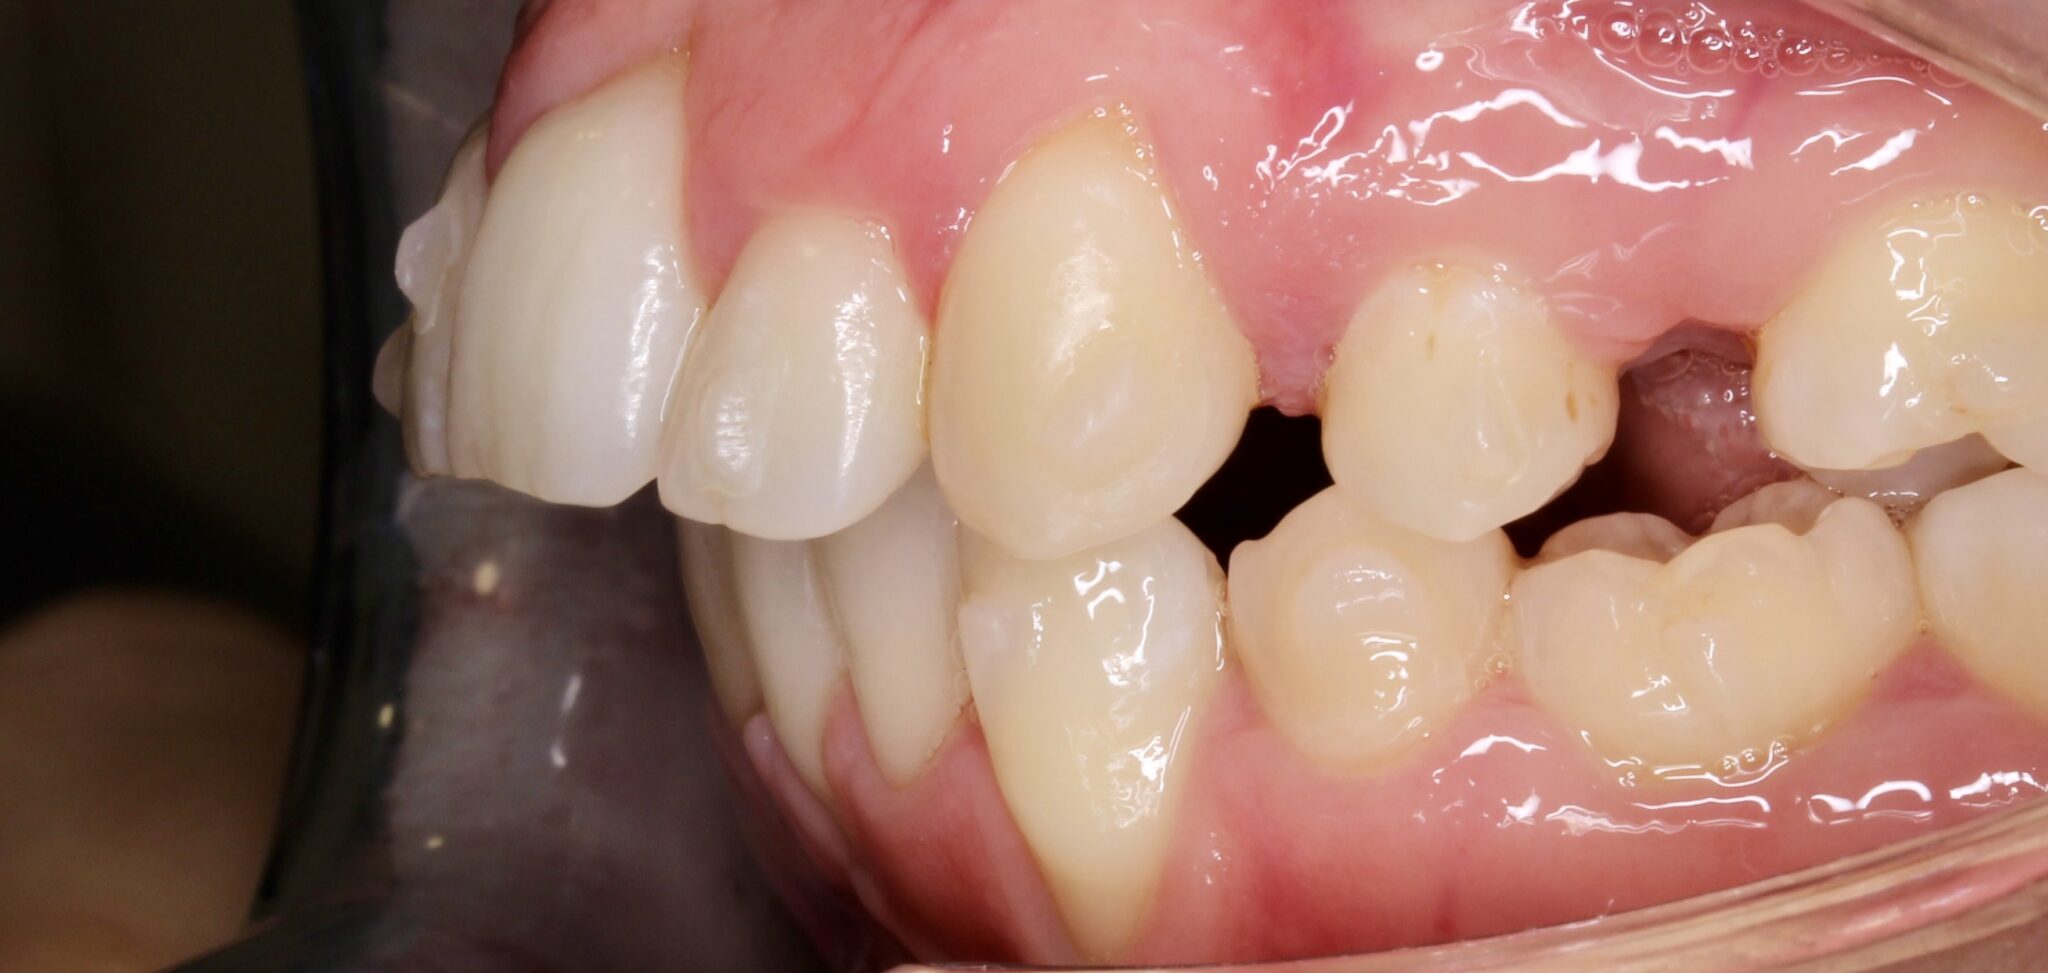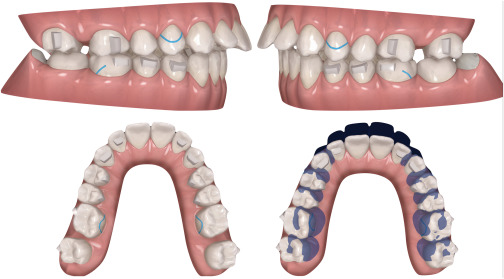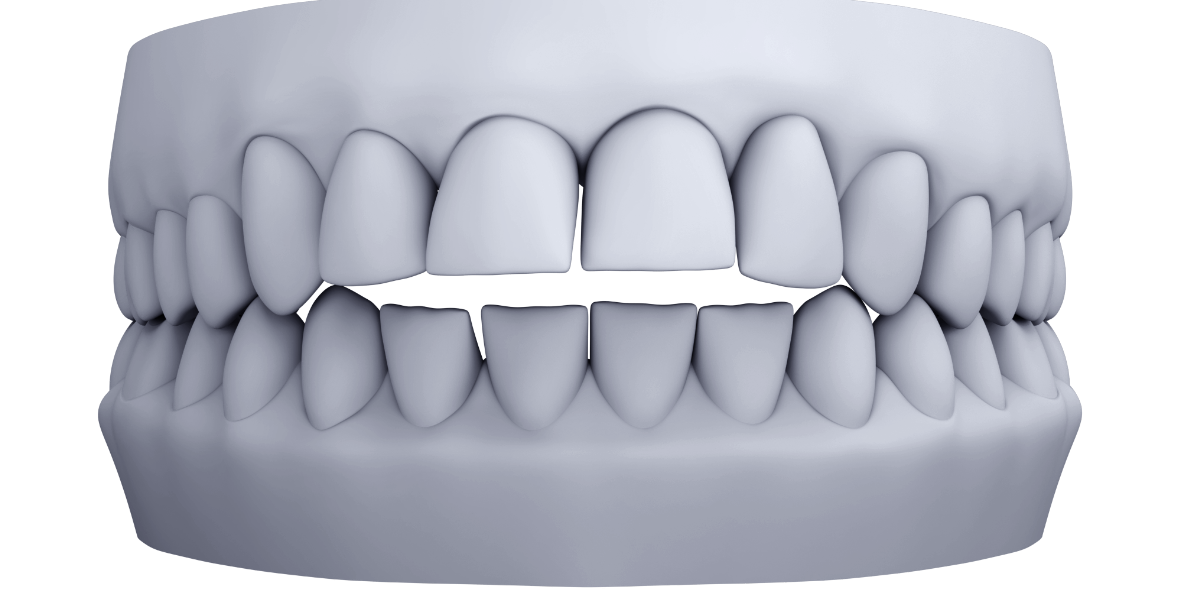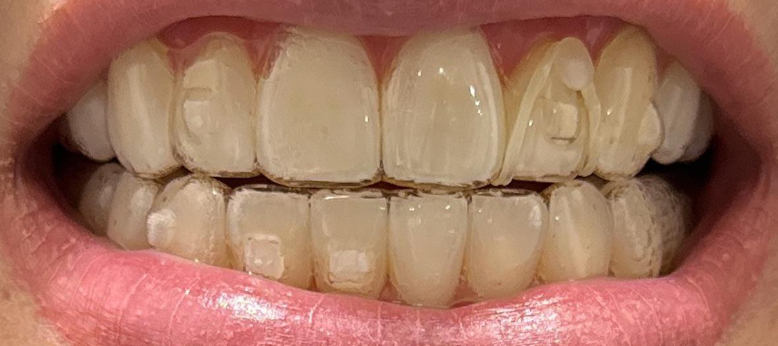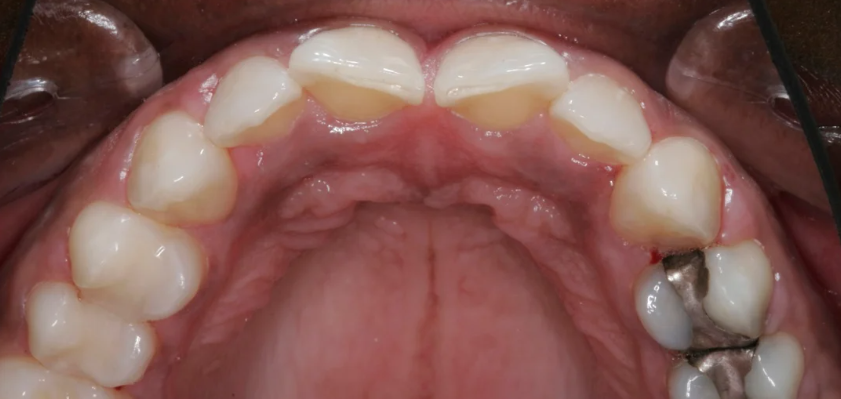
Anterior tooth rotation
Rotated anterior tooth:
- Create space around the rotated tooth
- Attachment on the rotated tooth
- Perform Hinge Axis rotation
Clincheck instruction requesting Hinge Axis rotations:
“Please correct anterior rotations with hinge-type movements. Create an axis for rotation (hinge) on the mesial or distal of the tooth. It is OK to move the hinge buccal to create spacing but perform ALL the rotation using the hinge as axis of rotation. Create light interproximal contacts and do NOT start rotations until this temporary space exists. Maintain this space until rotations are completed. Once alignment has been achieved move the tooth buccal or lingual as needed. Close all the space.”
OR
“Move the lower and upper anterior teeth forward for 4 stages to create some temporary spacing to help with rotation. START ROTATIONS AT STAGE 5. Use hinge type movements for the rotations. After the rotations are complete, close all spaces. I realize by doing this you are adding 4 more stages to the treatment plan. You can start other movements like intrusion anytime.”
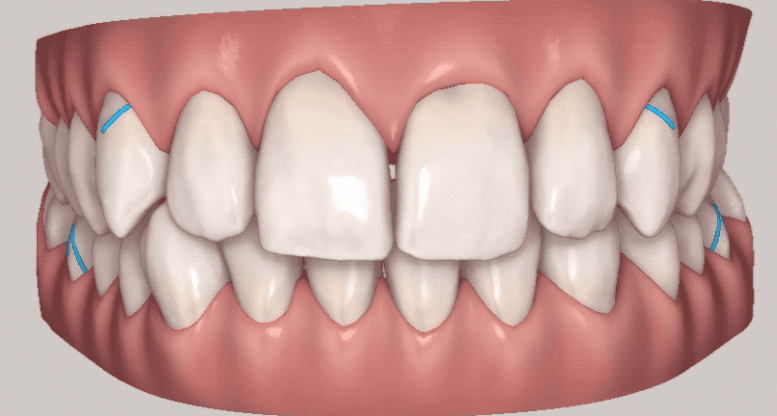
Clincheck instruction for mesial out rotation of U6 teeth:
“Please perform 12 degrees of M-out rotation of the U6 teeth.”
(Hint: request 12 degrees of mesial out rotation and then verify once the Clincheck comes back. If that wasn’t enough send another request with additional rotation)
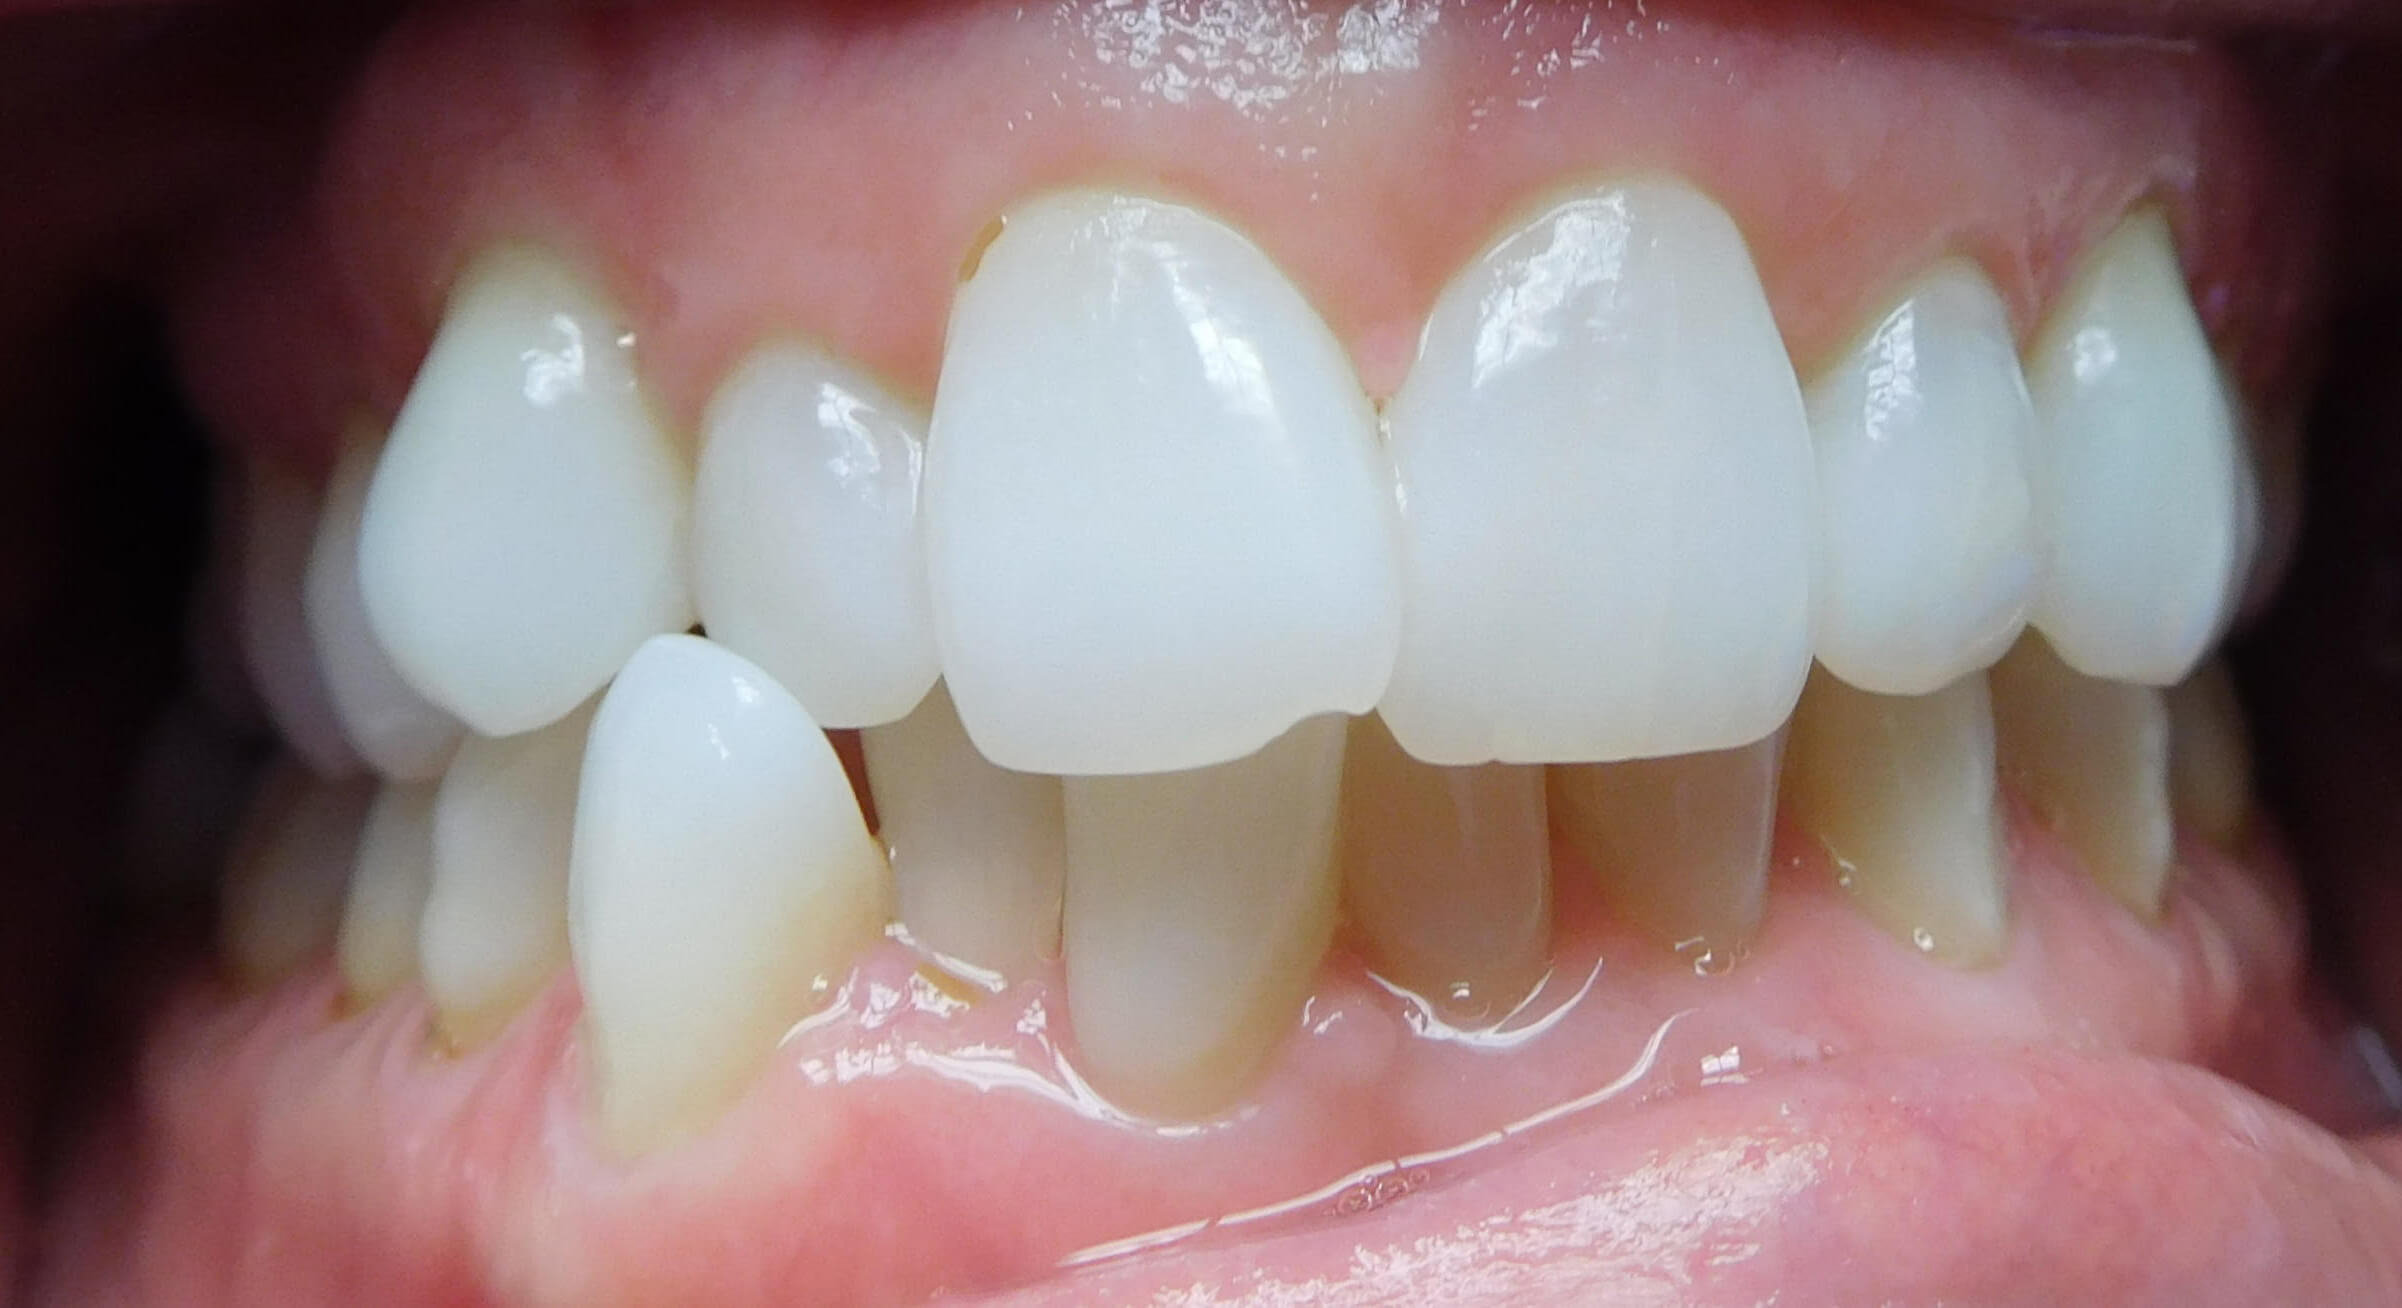
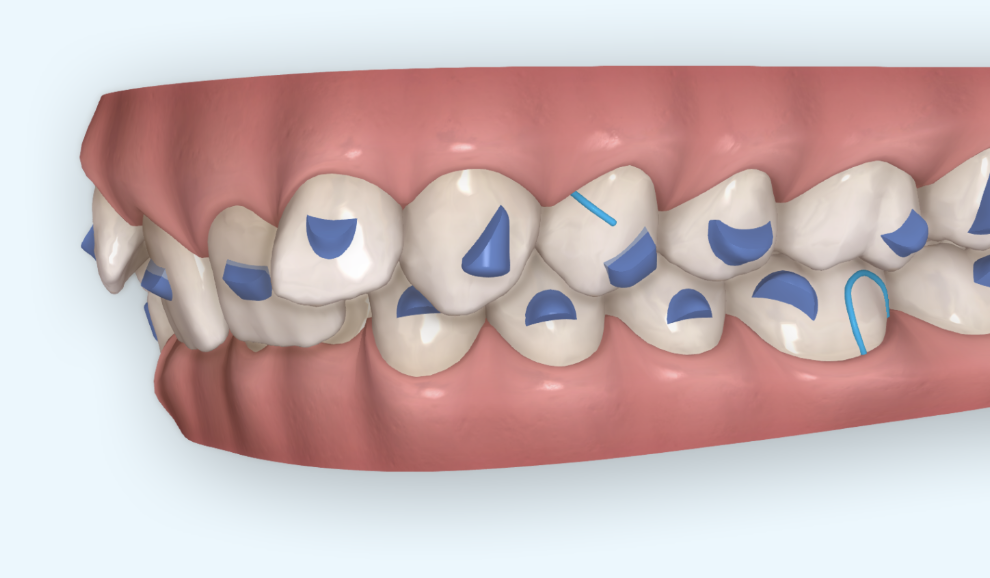
Large rotations
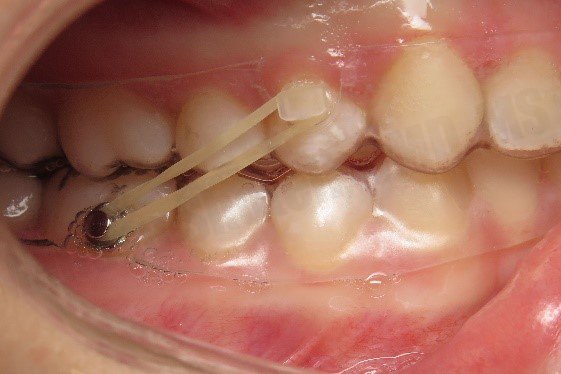
Canines and premolars that are rotated more than 45° (this can be measured in the aligner software) – incorporate buttons and an elastic chain simultaneously with the aligners.
The patient is seen every 3 to 4 weeks to change out the elastic power chain while continuing their weekly switches of the aligners.
Once the tooth is fully de-rotated, my current protocol is to remove the buttons and scan for refinement aligners.
For mild to moderate rotations, I will just use a composite rotation attachment.