Distalization. Anterior upper retraction
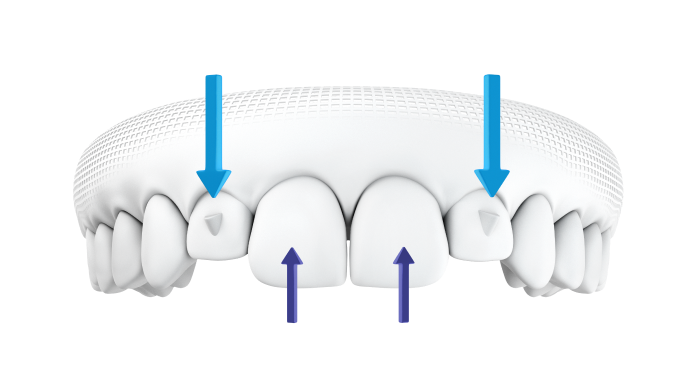
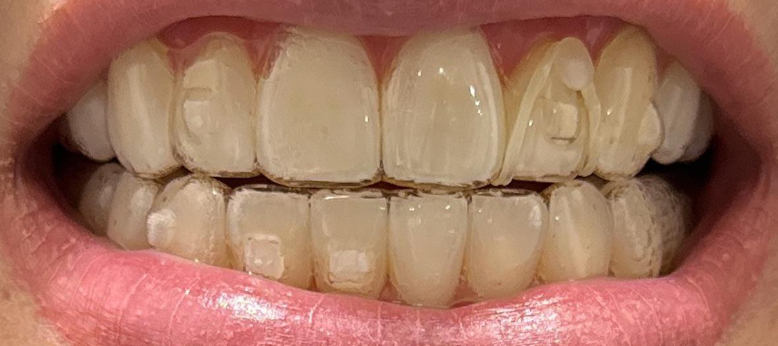
- Hypercorrect intrusion and palatal root torque. Plan 5 degrees palatal root torque and 1 mm of intrusion for every 1 mm of incisal retraction (especially in cases of extractions).
- Separate incisors form canines during staging. In the distalizations begin to retract the canines when the second premolars finish their movements. Will not start to retract the incisors until the distalization of the first is complete. In this way, we will have more anchorage and a gap between the lateral incisors and canines so that the aligner plastic can be inserted easier.
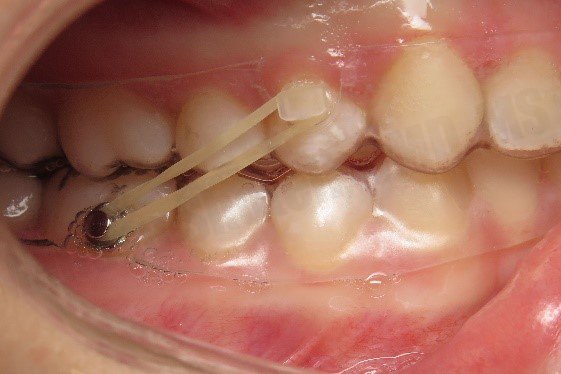
- Class II elastics (preferred button cutouts) If your patient has a Class II-2 it is preferable to place the buttons on the upper first premolars so that the elastics do not affect the torque correction. In Class II-1 they can be placed in canines.
- Class II elastics (3/16 inch, heavy force 4.5 oz) were used to augment the movement (from the upper premolars to lower molars.)
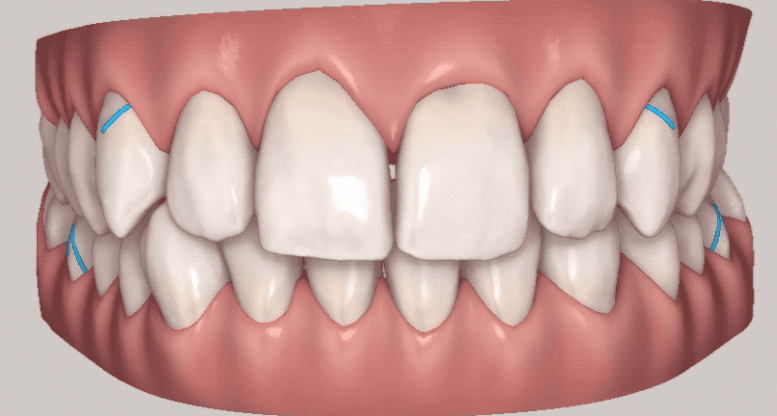
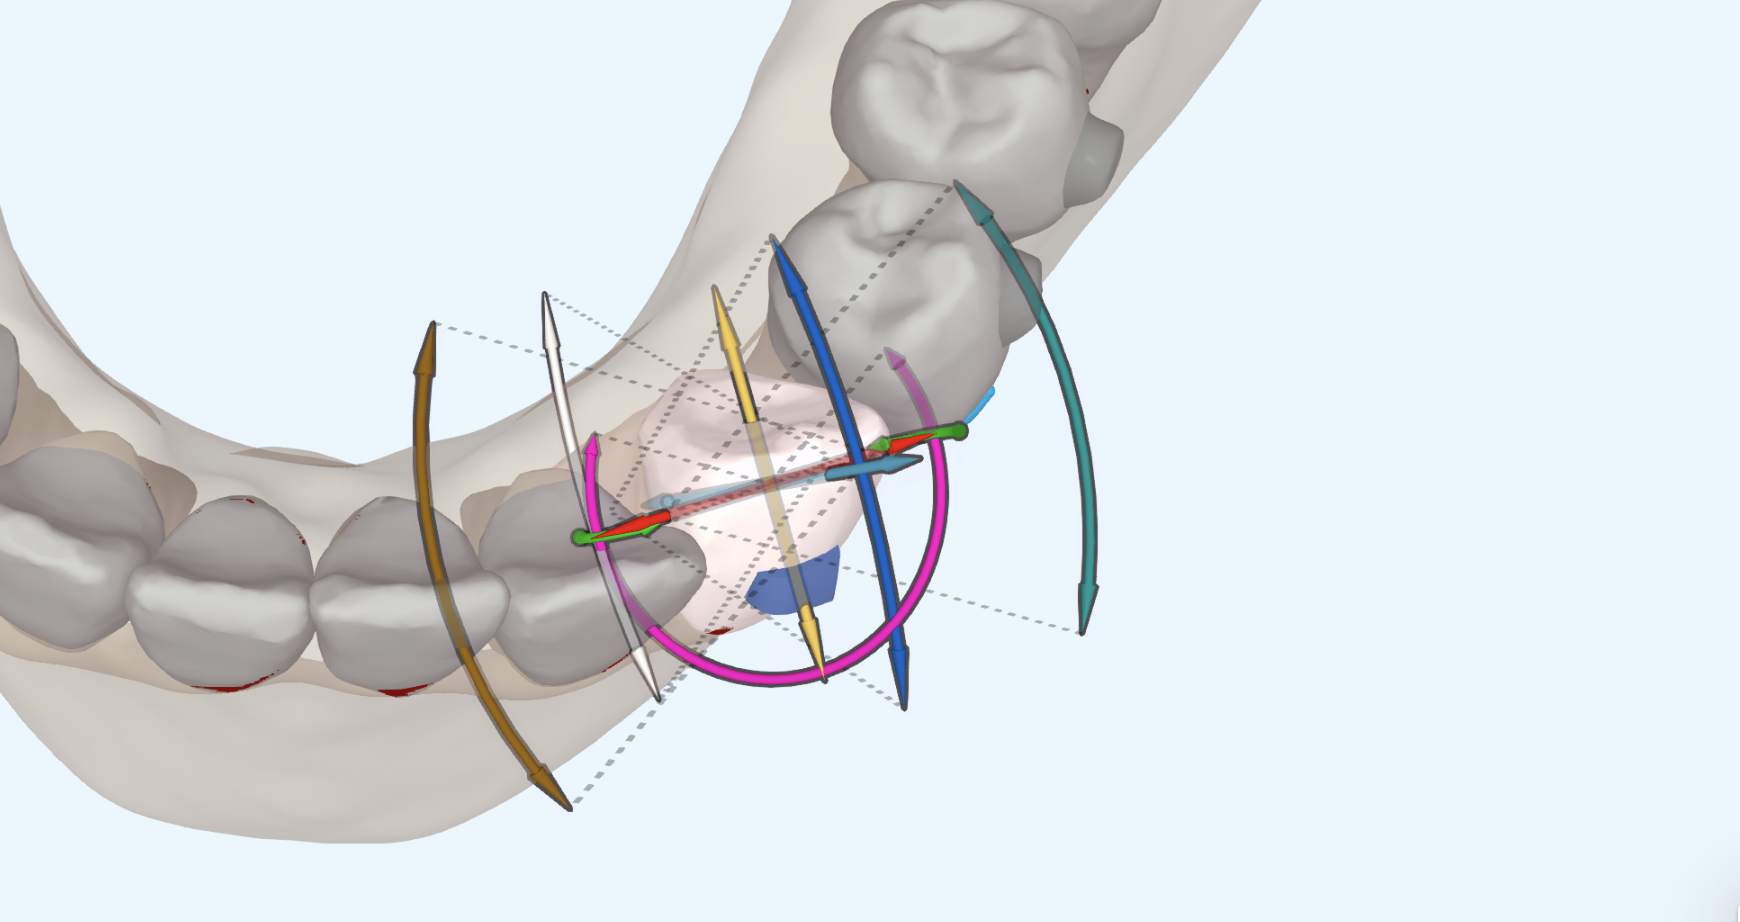
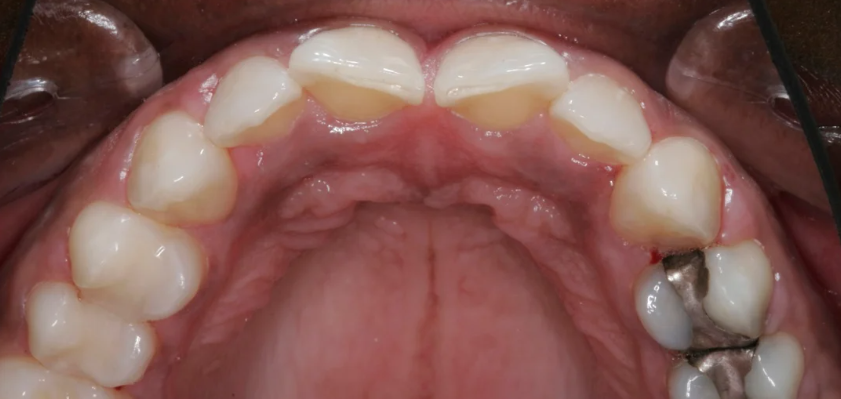
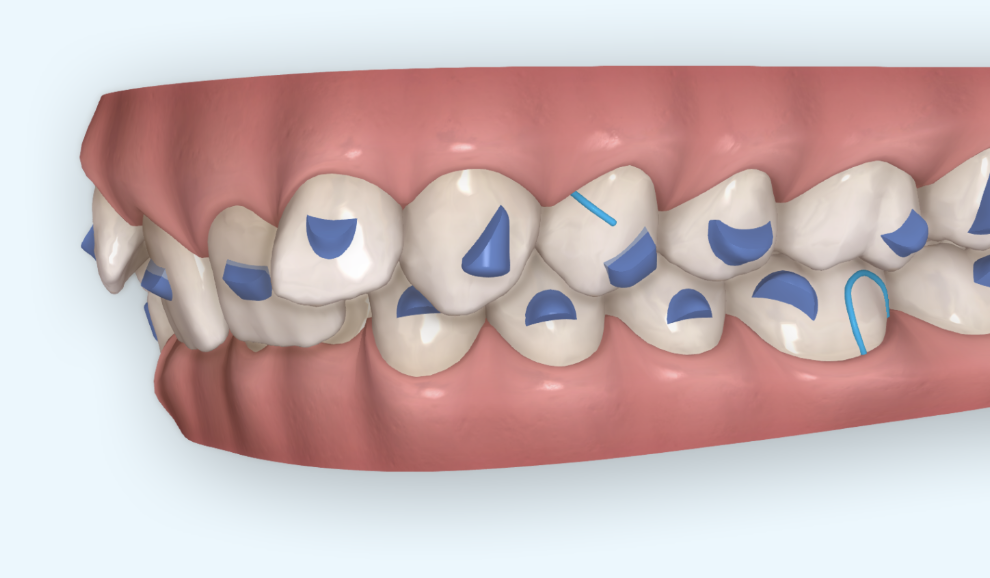
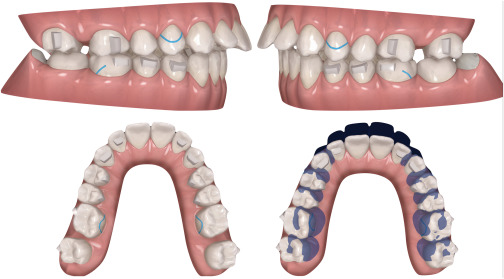
- Vertical attachments should be placed on the premolars and molars to prevent tipping and allow for bodily distalization. The attachments should be located on the mesial side of the upper molars to prevent any mesial rotation of molars.
- Leveling the arches and intrusion of posterior teeth with a clear aligner allowed the vertical bite jump. This was incorporated into the digital treatment plan and allowed the mandible to autorotate forward, which also assisted in the class II correction.
- A study evaluating the effect of 7 days versus 14 days of aligner wear concluded that the 14‐day changes revealed greater accuracy in posterior movements
_____
Anterior torque is lost during retraction
-> Therefore: add 1 degree of lingual-root of torque and 0.2 mm of intrusion per aligner when the anterior teeth are retracted