Sequential distalization for 4-5 aligners (50%) of just 7’s. Add light buccal crown-torque to incisors.
The also? 6’s for an additional 4-6 aligners
Add the 5’s when the 7s are in position. Then the 4’s (MAX 3 teeth at a time)
Then canines when the 5’s are corrected, and then the anterior segment (WITH palatal-root torque 1 degree and intrusion 0.2 mm per aligner)
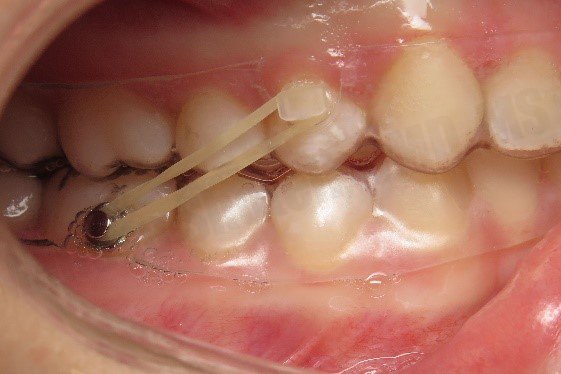
Elastics: 3/16 M from 4 to 6 until canines are distalized. Then 1/4 M from 3 to 6.
Add lower molar mesialization if necessary (sequential when 3’s are in place)
Distalization protocol 2:
Third molar extraction
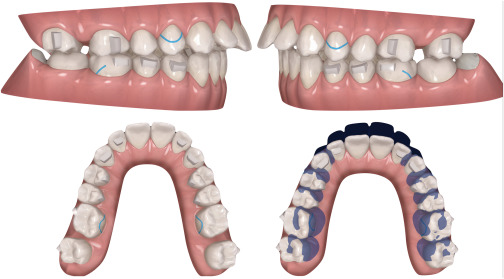
50 % sequentialization
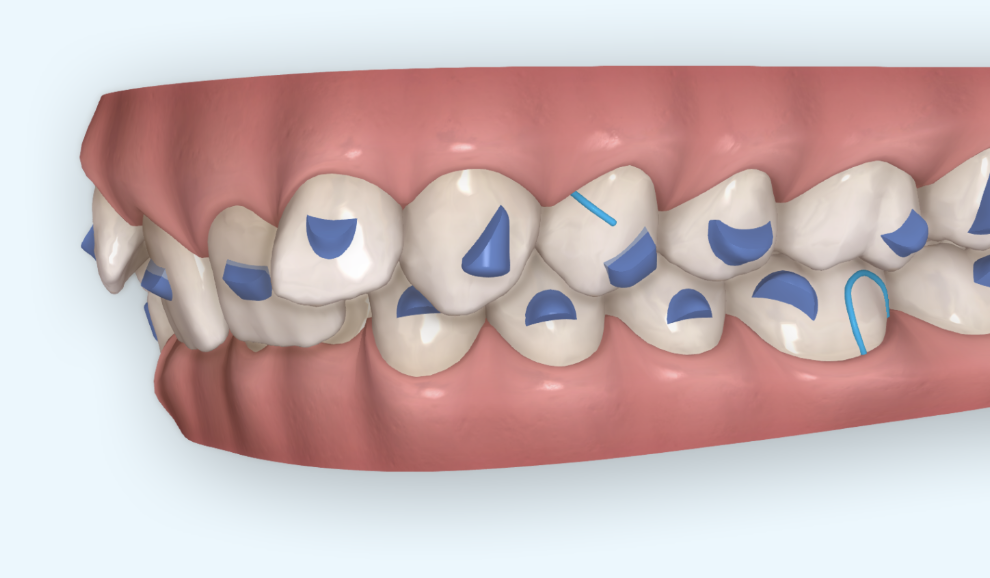
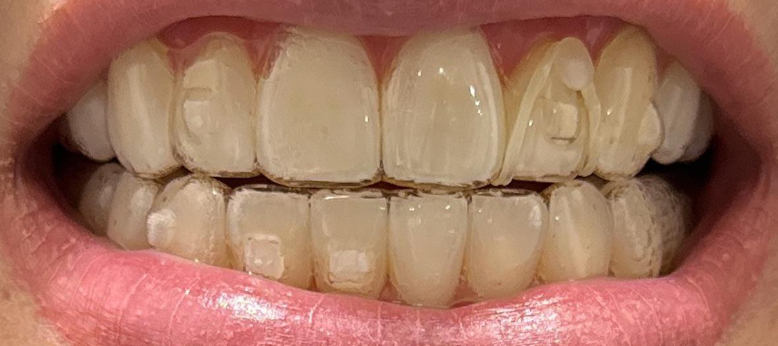
Attachments U7-to-U3
Class II elastics: 3/16 – 6oz on upper aligner CUTS
Elastics on U4 until end of U4 mov, then move to U3. Buttons on lower 6’s.
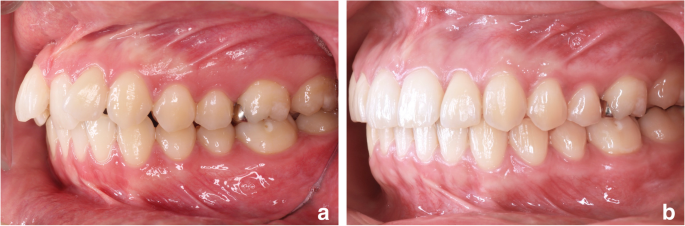
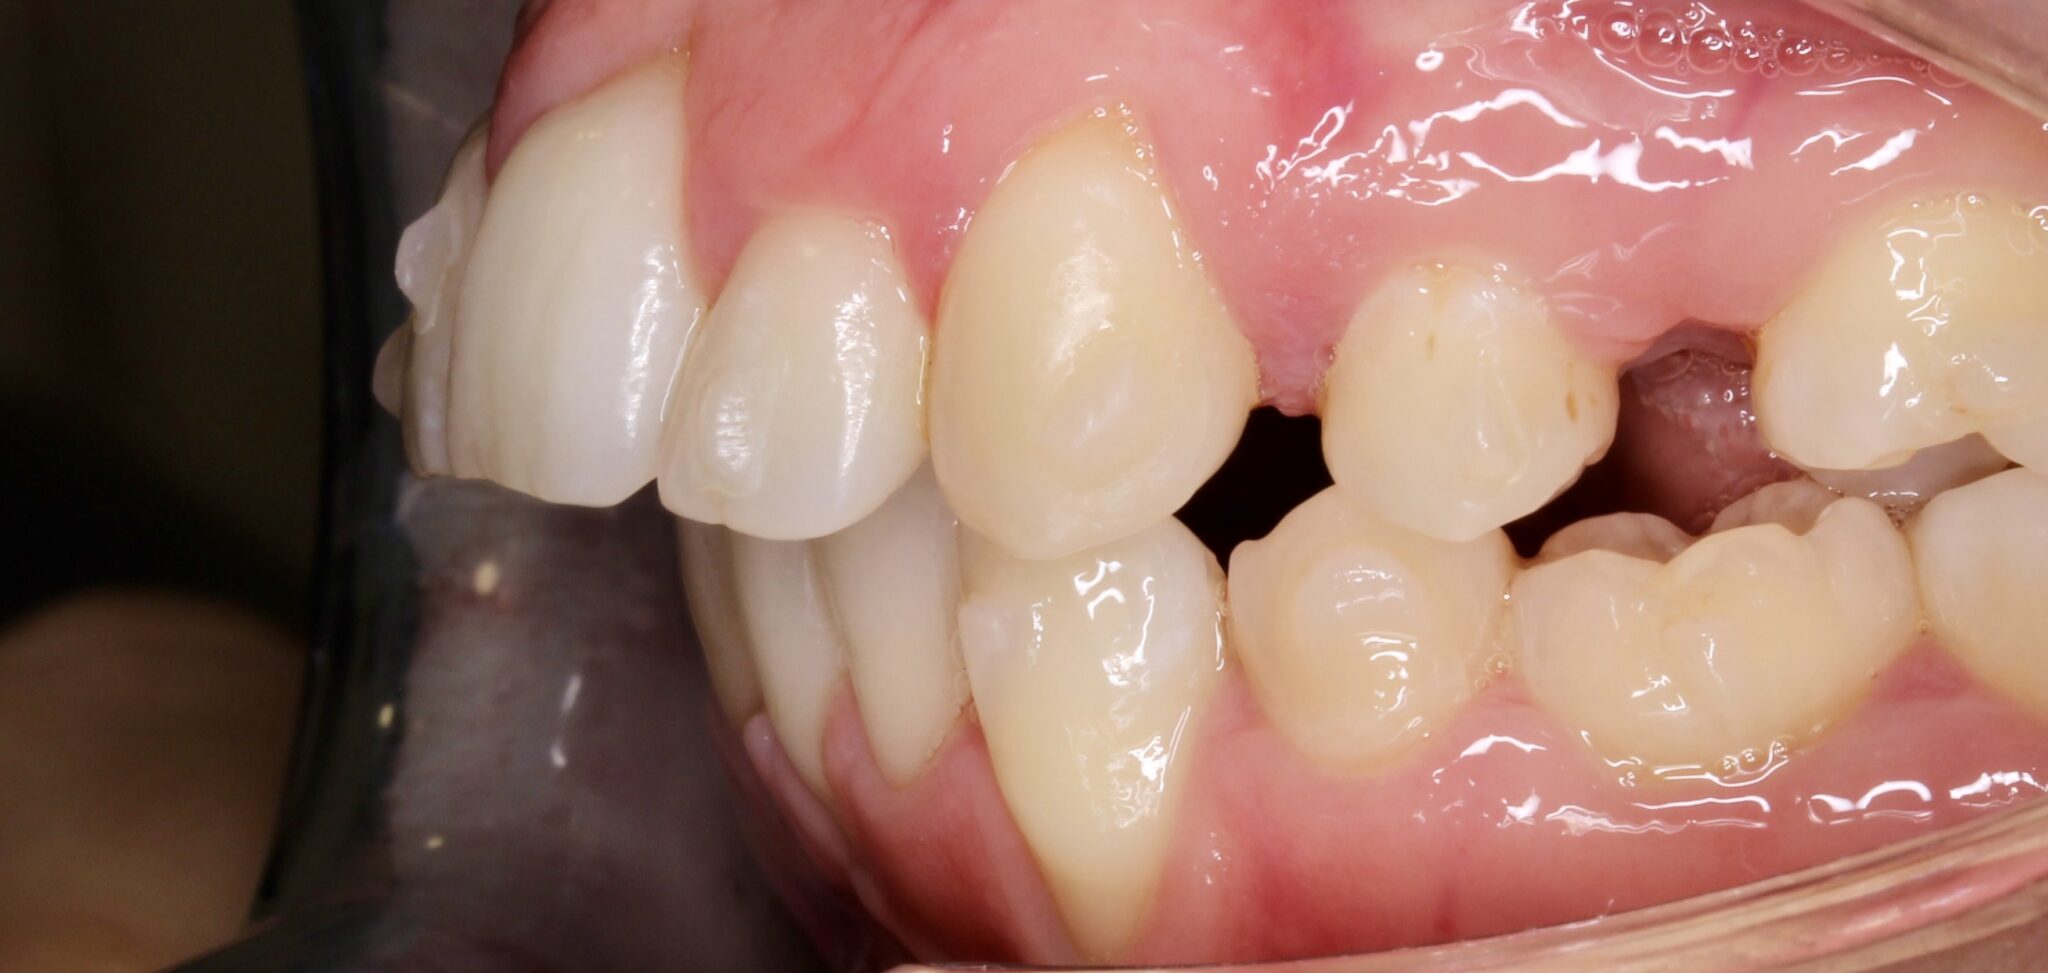
Esthetic start
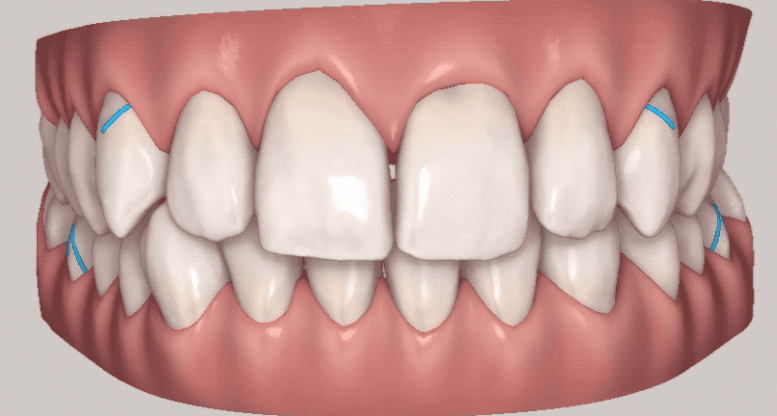
When starting distalization of premolars posterior anchorage should be reinforced. Ask for 5 to 10 degrees of distal crown tipping on molars while distalizing premolars.
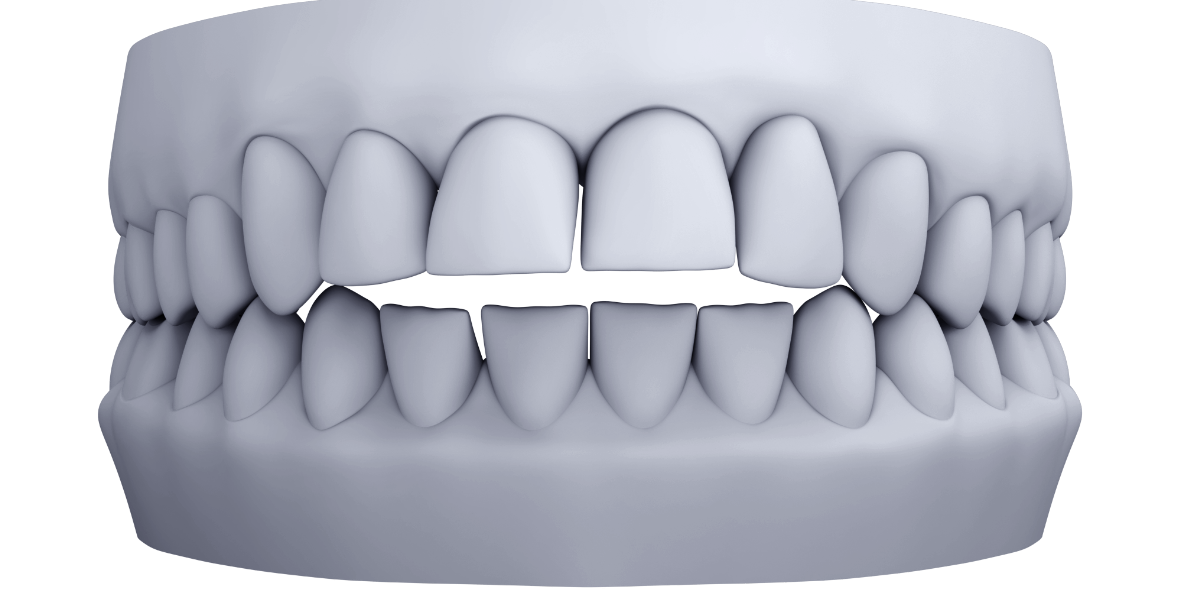
Upper arch development:
Parabolic arch-shape
Staging:
Compression of 7’s while simultaneous
distal rotation of 16, 26 and expansion of premolars and
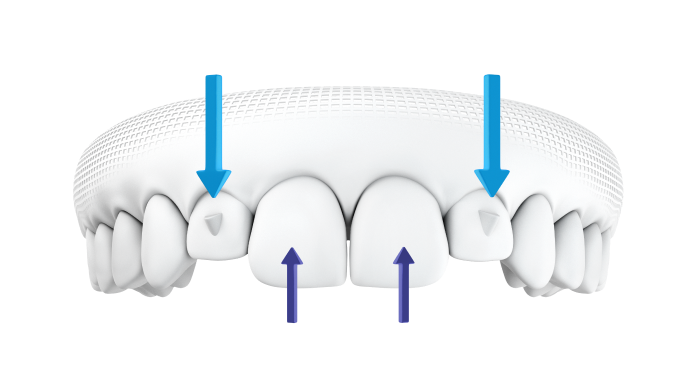
buccal crown-torque to upper incisors
After contraction: retract upper front with simultaneous palatal root-torque
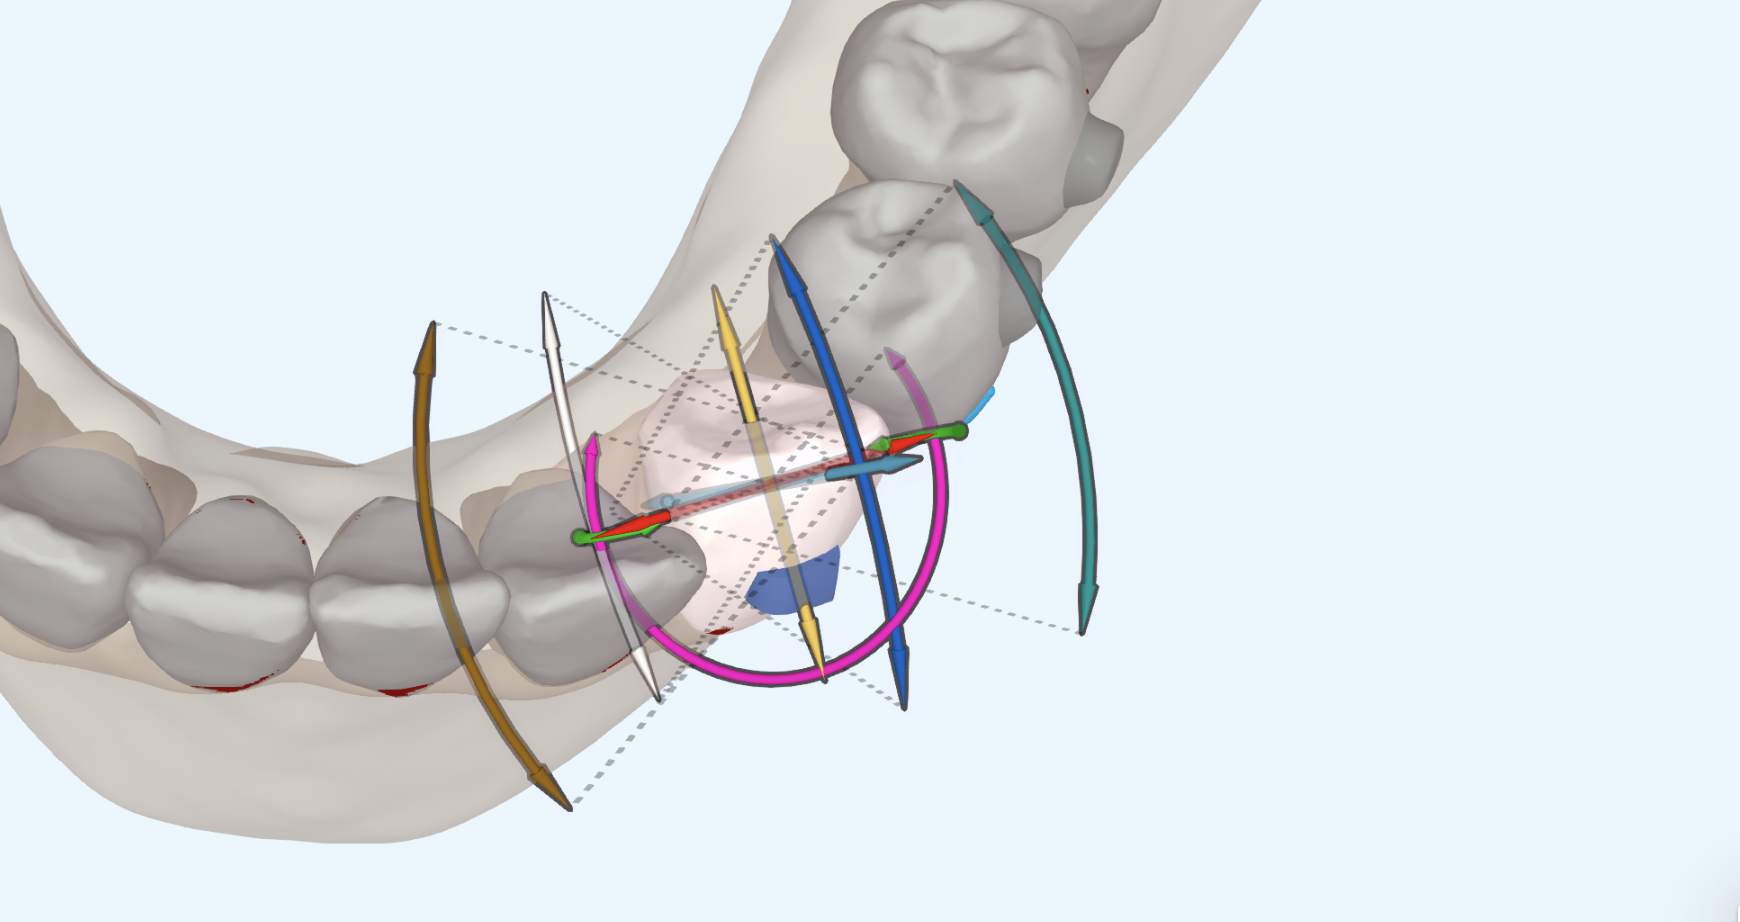
Leveling the curve of Spee:
Never do pure intrusion
Couple a sagittal and vertical movement
Place retention- attachments on premolars and maybe molars
Upright buccal segments,
Procline to normal inclination and intrude incisors,
IPR 33-43 (if necessary)
Retrude, intrude, and lingual root torque
Final position (90 degrees)
Spee Curve flat
Lower arch development:
Protrusion of front
Hinge-rotation of the front
Lingual root-torque of 7’s while contraction and rotation